
When it comes to Apple’s range of product offerings, there are numerous devices that are exceptional in terms of both appearance and performance. However, the multinational company’s most valuable product is not the iPhone, iPad, or Mac. It is actually the walled garden ecosystem that facilitates users to access and use continuity features on any device seamlessly. According to TechJourneyMan, Apple’s top-tier ecosystem does not revolve around a single Apple product. In contrast, all Apple products are designed around it. Thus, the versatility of the Apple ecosystem facilitates users of Apple devices to have a seamless experience. Moreover, it is one of the reasons why millions of individuals all around the globe purchase multiple Apple devices, including the iPhone, iPad and Mac.
One of the most crucial aspects of the Apple ecosystem is the universal sync functionality that holds everything together. Even though the sync functionality is universal and is available on other platforms as well, Apple’s seamless integration between devices, thanks to its walled garden ecosystem, enhance the powerful functionality’s use. The seamless sync capability embedded in all Apple devices makes it easier for users to access data on any Apple device they want. Most users prefer syncing their iPhone or iPad with their Mac to ensure that their data remains safe, secure and easily accessible. This article will show how users can sync their iPhone or iPad with their Mac without hassle. Let us get started:
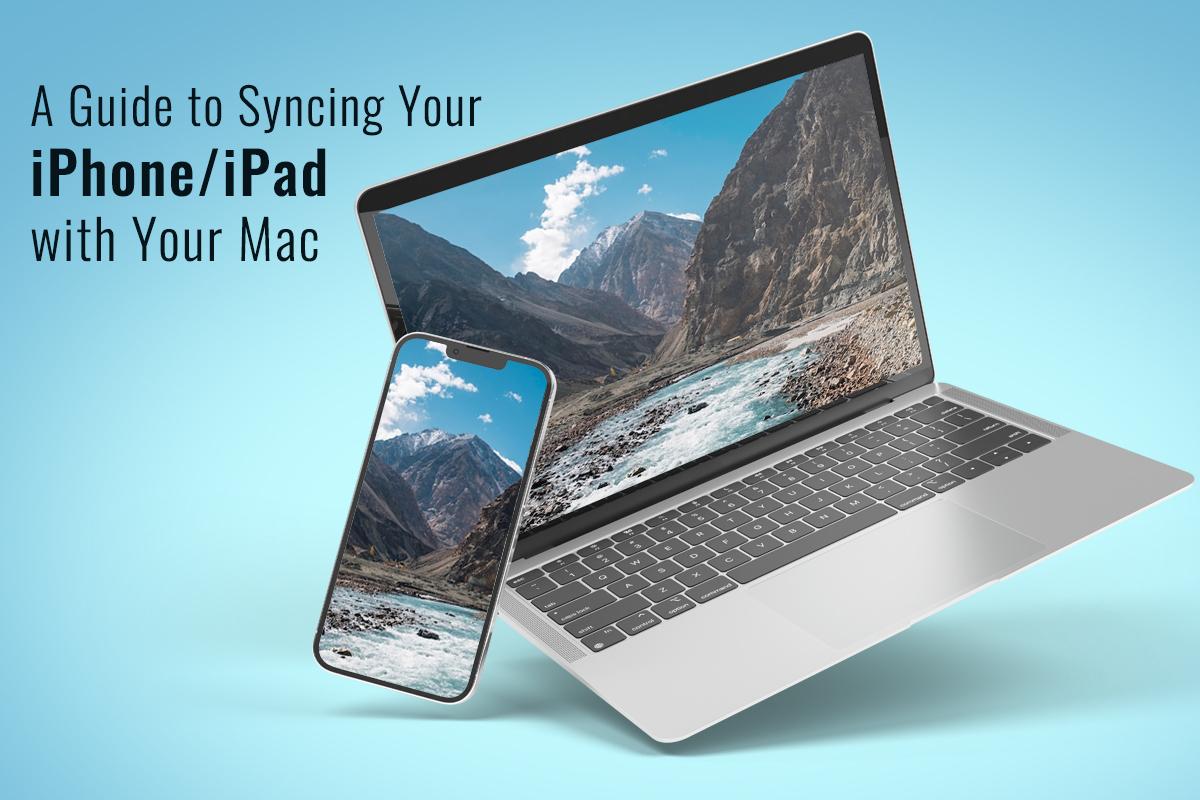
How to Sync Content Between a Mac and an iPhone or iPad:
There are two major ways following which users can sync their iPhone or iPad with their Mac, i.e., by using a wire or wirelessly. Here is a detailed look at both methods:
- Syncing Content Using Wi-Fi
One of the most efficient ways of syncing an iPhone or iPad with a Mac is wirelessly using Wi-Fi. Users can conveniently sync all types of data or content by connecting both their devices to the same Wi-Fi network. However, any user who wishes to follow this method of syncing content must first set up Wi-Fi syncing. To do so, they would initially need to connect the device whose content they wish to sync with their Mac using a USB cable. Then, they would need to turn on the Wi-Fi syncing option and choose the settings they want.
Besides this, there are numerous other methods following which users can seamlessly sync data wirelessly over Wi-Fi. For instance, users can opt to use iCloud for storing and syncing data across their devices. Apple offers 5 GB of free cloud storage to all users. Moreover, users also have the option to purchase more storage space on the cloud storage platform. Once users have enough space on their iCloud account, all they need to do is upload their iPhone or iPad’s data to their cloud storage account. Once the upload process is complete, users can either choose to download the data on their Mac to store it locally or let it stay on their iCloud account for easy accessibility.
Users can also sync their iPhone or iPad’s data with their Mac using third-party applications. For instance, if you are wondering how to sync phone contacts to Mac, you can conveniently do it using a third-party application like AnyTrans for iOS. It is a professional backup manager and file transferring tool using which iPhone users can conveniently sync their device’s contacts to their Mac. Similarly, users can sync other types of data using third-party tools.
- Syncing Content Using a USB Cable
There are numerous users who do not prefer syncing their iPhone or iPad to their Mac over a Wi-Fi network. If you are one of them, worry not because you can also sync content present on your iPhone or iPad with your Mac in the traditional way, i.e., using a USB cable. To sync all items of a content type to your Mac from your iPhone or iPad, follow the given steps:
Step 1 – Connect your iPhone or iPad to your Mac using a USB cable.
Step 2 – Navigate to the Finder app and select the device from the sidebar.
Step 3 – Choose the category of content you wish to sync.
Step 4 – Click on the “Sync onto {device name}” checkbox to initiate the syncing process.
Step 5 – If you wish to sync different types of content. Repeat the third and fourth steps as per your preferences.
Step 6 – When you are done with the checkbox-ticking process, click on the “Apply” option to initiate the process.
Step 7 – When the process is complete, click on the “Eject” button present in the sidebar.
Besides this, you can also opt to sync your iPhone or iPad with your Mac automatically. However, you would need to enable the automatic syncing feature to do so.
If you wish to sync your iPhone or iPad to your Mac, follow the detailed steps mentioned above.